Introduction
Hey Guys,Let me introduce myself, I am a Computer Engineering student. My senior design project involves working with the BeagleBoard and using Ubuntu. For those who do not know about the BeagleBoard, it is an open development board packed with many ports such as HDMI, Ethernet, USB hub, and more. This is essentially a microprocessor running on a board.
Initially I had installed Ubuntu 10.10 Maverick on the BeagleBoardC3 and it was running terribly slow due to the high resource use from GNOME desktop. I did some research and found that Fluxbox, Openbox, Icewm, and ROX are among the popular lightweight desktops/window managers for Linux systems. The definition of lightweight desktops means that these applications provide the user with very minimal functionality in order to use less resources (memory) and CPU time. Some of these desktops/window managers do not have any desktop task bar, icons, and panels. To access their main menus, you have to RIGHT-CLICK.
When the BeagleBoard was loading up the Ubuntu desktop, it takes about 10 minutes just to load up the Synaptic Package Manager so here, I'll show you how to install these desktops via Terminal.
(If you can still run Synaptic Package Manager, you can do so. System->Administration->Synaptic Package Manager)
Installing Fluxbox or Openbox or Icewm
Terminal Way
Fluxbox
1. Open the terminal2. Type in: sudo add-apt-repository ppa:koshi/xfce-4.83. Type in: sudo apt-get update && sudo apt-get install fluxbox
4. It should then display many Hit links for updates and automatically handle the fluxbox installation. 5. Log out and re login, make sure you select FLUXBOX desktop choice after you entered your username.
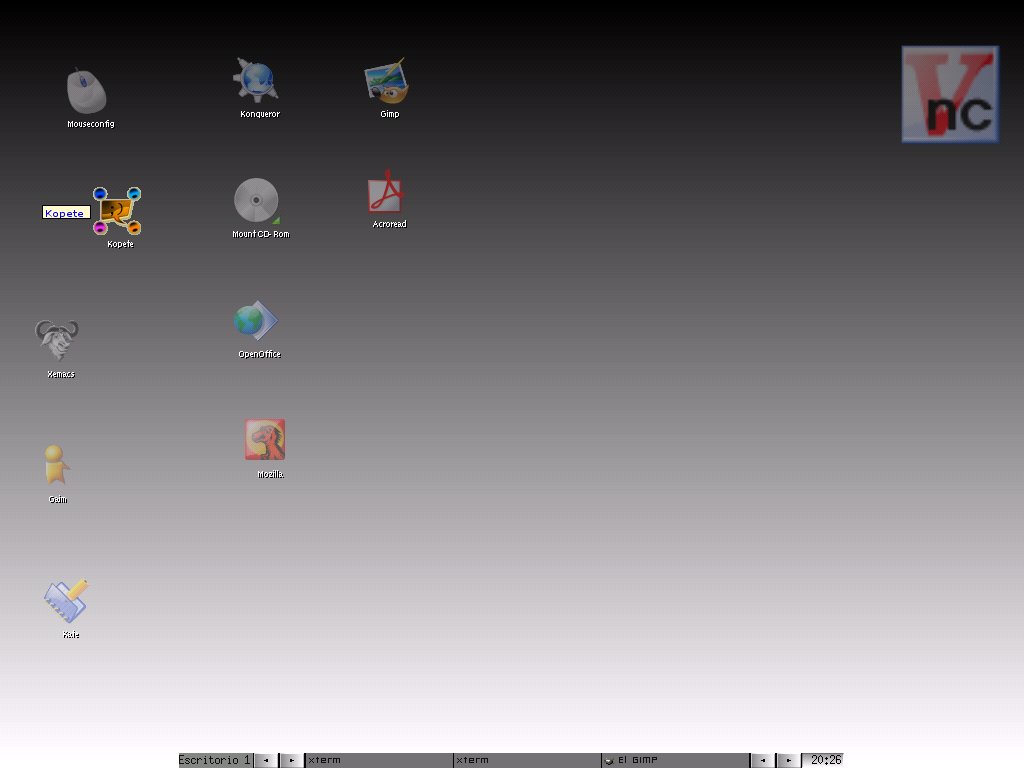
Image at: http://idesk.sourceforge.net/html/screenshots/0.7/screen_fluxbox1.jpg
Openbox or icewm
1. Open the terminal2. Type in: sudo apt-get update && sudo apt-get install openbox
3. It should then display many Hit links for updates and automatically handle the installation.
4. Log out and re login, make sure you select your desktop choice after you entered your username.
Note: If you failed to get the fluxbox application down, try enabling the repository sources by opening the sources file and removing the '#' in front of the deb addresses for multiverse and universe. It had helped me before when I tried to install fluxbox.
Synaptic Package Manager Way
1. Open Synaptic Package Manger2. Click reload to refresh all available packages
3. On the search bar, enter: fluxbox (or any desktop of your choice)
4. Right click to Mark for Installation
5. Click Apply
FINALLY, make sure that if you have Ubuntu autologin, you have to check the
"show the screeen for choosing who to login"
in order to switch over to fluxbox desktop environment. This option can be found by selecting System->Administration->LoginScreen
More information can be found here:
http://fluxbox.org/
http://openbox.org/
http://www.icewm.org/
Installing ROX
Rox-desktop is an another light weight desktop that also have its own Roxfiler, "a fast and powerful graphical file manager for the X Window System." This file manager can be used with any of the desktop listed above.Installing ROX was not as easy as installing the previous desktops. My steps for installing ROX worked out well, so please follow them at your own risks.

Image at: http://rox.sourceforge.net/screens/desktop.png
Terminal Way
(After I installed Fluxbox and using its session, I installed Roxfiler.)1. Open the terminal
2. Type in: sudo apt-get update && sudo apt-get install roxfiler
3. After installation, you can switch over to roxfiler by right clicking anywhere on the desktop and select it on the menu OR typing in roxfiler on the terminal.
4. Install ROX-desktop by typing this to the terminal:
$ 0launch http://rox.sourceforge.net/2005/interfaces/ROX-Session 5. Then it will automatically walk you through setting the up ROX desktop.
Synaptic Manager Way
1. Open Synaptic Package Manager2. Search for roxfiler and mark for installation
3. Search for rox-desktop and mark for installation
4. Click Apply and it will handle the installation process for you.
I found great help from Mark76 on the ubuntuforums.org, I have broken up the steps to setting up Rox desktop:
1. ROX desktop has its own session manager.
2. Install zeroinstall injector from the repos, then run it and drag the
0install link to the window that pops up. It'll cache the program and
its dependencies (there are two).
3. Go into /usr/share/applications and
click on the zeroinstall-manage-desktop file, then click on the run
button next to the entry for ROX-Session (which should be the only one)
and click on Set Up Rox.
4. Choose Set Up for User or Add to Login (the
latter requires you to set up a root password first.
5. Open a terminal and
type sudo passwd. It'll prompt you to input a new passwd for root
(note: this is not the same as your sudo password). Create one and then
retype it when it asks).
When you've set up ROX-Session do as it says and then when you log back in you'll either be running ROX-Session by default (the first option), or it'll be one of the session choices alongside Gnome and whatever else. When it starts it'll ask you if you want to download OroboROX. Say no and then type icewm into the CLI box that appears. It should then remember your choice of window manager until you change it.
__________________When you've set up ROX-Session do as it says and then when you log back in you'll either be running ROX-Session by default (the first option), or it'll be one of the session choices alongside Gnome and whatever else. When it starts it'll ask you if you want to download OroboROX. Say no and then type icewm into the CLI box that appears. It should then remember your choice of window manager until you change it.
More information can be found here:
http://roscidus.com/desktop/ROX-Filer
http://roscidus.com/desktop/ROX-Session
http://ubuntuforums.org/showthread.php?t=1194748
Installing more user friendly DESKTOP.
On top of fluxbox or open box, you can definitely install a desktop application that can make your session much more user friendly. My favorite desktop application is idesk. Idesk provides desktop launcher icons and allowing the user to simply double click and launch an application.Terminal Way
1. Open the Terminal2. Type in: sudo apt-get update && sudo apt-get install idesk
3. Wait for installation to finish
4. To have idesk run at bootup: type in: nano ~/.fluxbox/startup
It will look something like this.
#!/bin/sh
#
# fluxbox startup-script:
#
# Lines starting with a '#' are ignored.

# Change your keymap:
xmodmap "$HOME/.Xmodmap"

# Applications you want to run with fluxbox.
# MAKE SURE THAT APPS THAT KEEP RUNNING HAVE AN & AT THE END.
#
# unclutter -idle 2 &
# wmnd &
# wmsmixer -w &
# idesk &   <-REMOVE "#" to have idesk run at startup

# And last but not least we start fluxbox.
# Because it is the last app you have to run it with exec before it.

exec fluxbox
# or if you want to keep a log:
# exec fluxbox -log "$fluxdir/log"
If there is an error about the Background not showing up or no source file, you can edit the ~/.ideskrc
 table Config
   FontName: tahoma
   FontSize: 8
   FontColor: #ffffff
   Locked: false
   Transparency: 150
   HighContrast: true
   Shadow: true
   ShadowColor: #000000
   ShadowX: 1
   ShadowY: 2
   Bold: false
   ClickDelay: 300
   IconSnap: true
   SnapWidth: 55
   SnapHeight: 100
   SnapOrigin: BottomRight
   SnapShadow: true
   SnapShadowTrans: 200
   CaptionOnHover: false
 end
 table Actions
   Lock: control right doubleClk
   Reload: middle doubleClk
   Drag: left hold
   EndDrag: left singleClk
   Execute[0]: left doubleClk
   Execute[1]: right doubleClk
 end
To create your very own desktop icons:
1. Create a folder in your /home/user location, on terminal, type in: mkdir ~/.idesktop
2. $cd ~/.idesktop
3. Using your text editor: nano -w ~/.idesktop/name-of-icon.lnk <- LNK for clarity
4. Type in the following:
table Icon
   Caption: My Terminal Application
   Command: xterm
   Icon: ~/.idesktop/terminal.png
   X: 100
   Y: 50
 end
The Caption is the text below your desktop icon. The Command is what will be entered in your terminal. Icon is the location of your image, must be PNG. X and Y is the location on the desktop. Idesk will update the icon's location when you move it on the desktop.
Now, you can try to re login to your fluxbox session and see your new desktop icons!
More information:
http://fixxxer.mx/blog-en/?p=4
http://fluxbox-wiki.org/index.php?title=Editing_the_startup_filehttp://fluxbox-wiki.org/index.php?title=Idesk
Note: I had some issues getting my launcher icons to work because of how I entered the command to run the bash script. Here are the few ways you can run your script on the terminal
1. $ /home/user/myscript.sh (Run the script at this path)
2. $ ./myscript.sh (Run the current script)
3. $ . ./myscript.sh (Run in current directory without forking a new terminal)
To make it executable, please make sure you type in:
$ sudo su (type in your password to switch to super user)
$ chmod +x myscript.sh
Well, I hope these tips help those who were having trouble working with Linux and getting it to work with the BeagleBoard!!
tranq1990